Along the way I have come up with some pretty creative and relative secret passwords for classroom entry.
They include:
Innovative, Craftsmanship, Principles of Design and Assemble. We talk about these words and how they relate to our project every week. I am focusing on four Principles of Design which tie in nicely with this project. Balance, Emphasis, Harmony and Variety. We have been focusing mostly on the balance of our projects, probably because it's easily seen, even by my first graders. This early exposure to these Principles will be very beneficial later on.
Last week, I had a special "tying" training session for most of my little artists. Even the big kids benefited with practicing how to double-knot as well as UNtying those same knots. I showed them a couple different ways to attach string and yarn to objects. Hopefully some of these kids will even take on the task of taking out their own shoe knots because Mrs. Slats has challenged them to do it themselves, instead of handing the shoes over to mom or dad! Parents-let me know if I'm successful!!
I was very proud of all my students and how they created tints and shades on their very own artists palette (re: paper plate). I tried to emphasize how we take a little bit of paint and mix our colors in separate places, rather than just mixing everything all together.
I have one last thing to mention about our preparation to assemble these fine mobiles. I had the kids choose their own stick (which was personally cut down in Mrs. Slats' back yard) and then I allowed them to sand off the rough spots if they wanted. I had a table set up outside with different grits of sandpaper. There was a lot of excitement to get in there and sand off a layer of the twig, or try to smooth it out a little. I was surprised at how many of the kids are familiar with sanding, either helping their parents in the garage, or after school activities. It's a wonderful feeling to get in there and really use great craftsmanship to build your own work of art!
Here are some visuals from our project so far.


Examples of the color mixing on the palettes. Notice the different tints and shades.

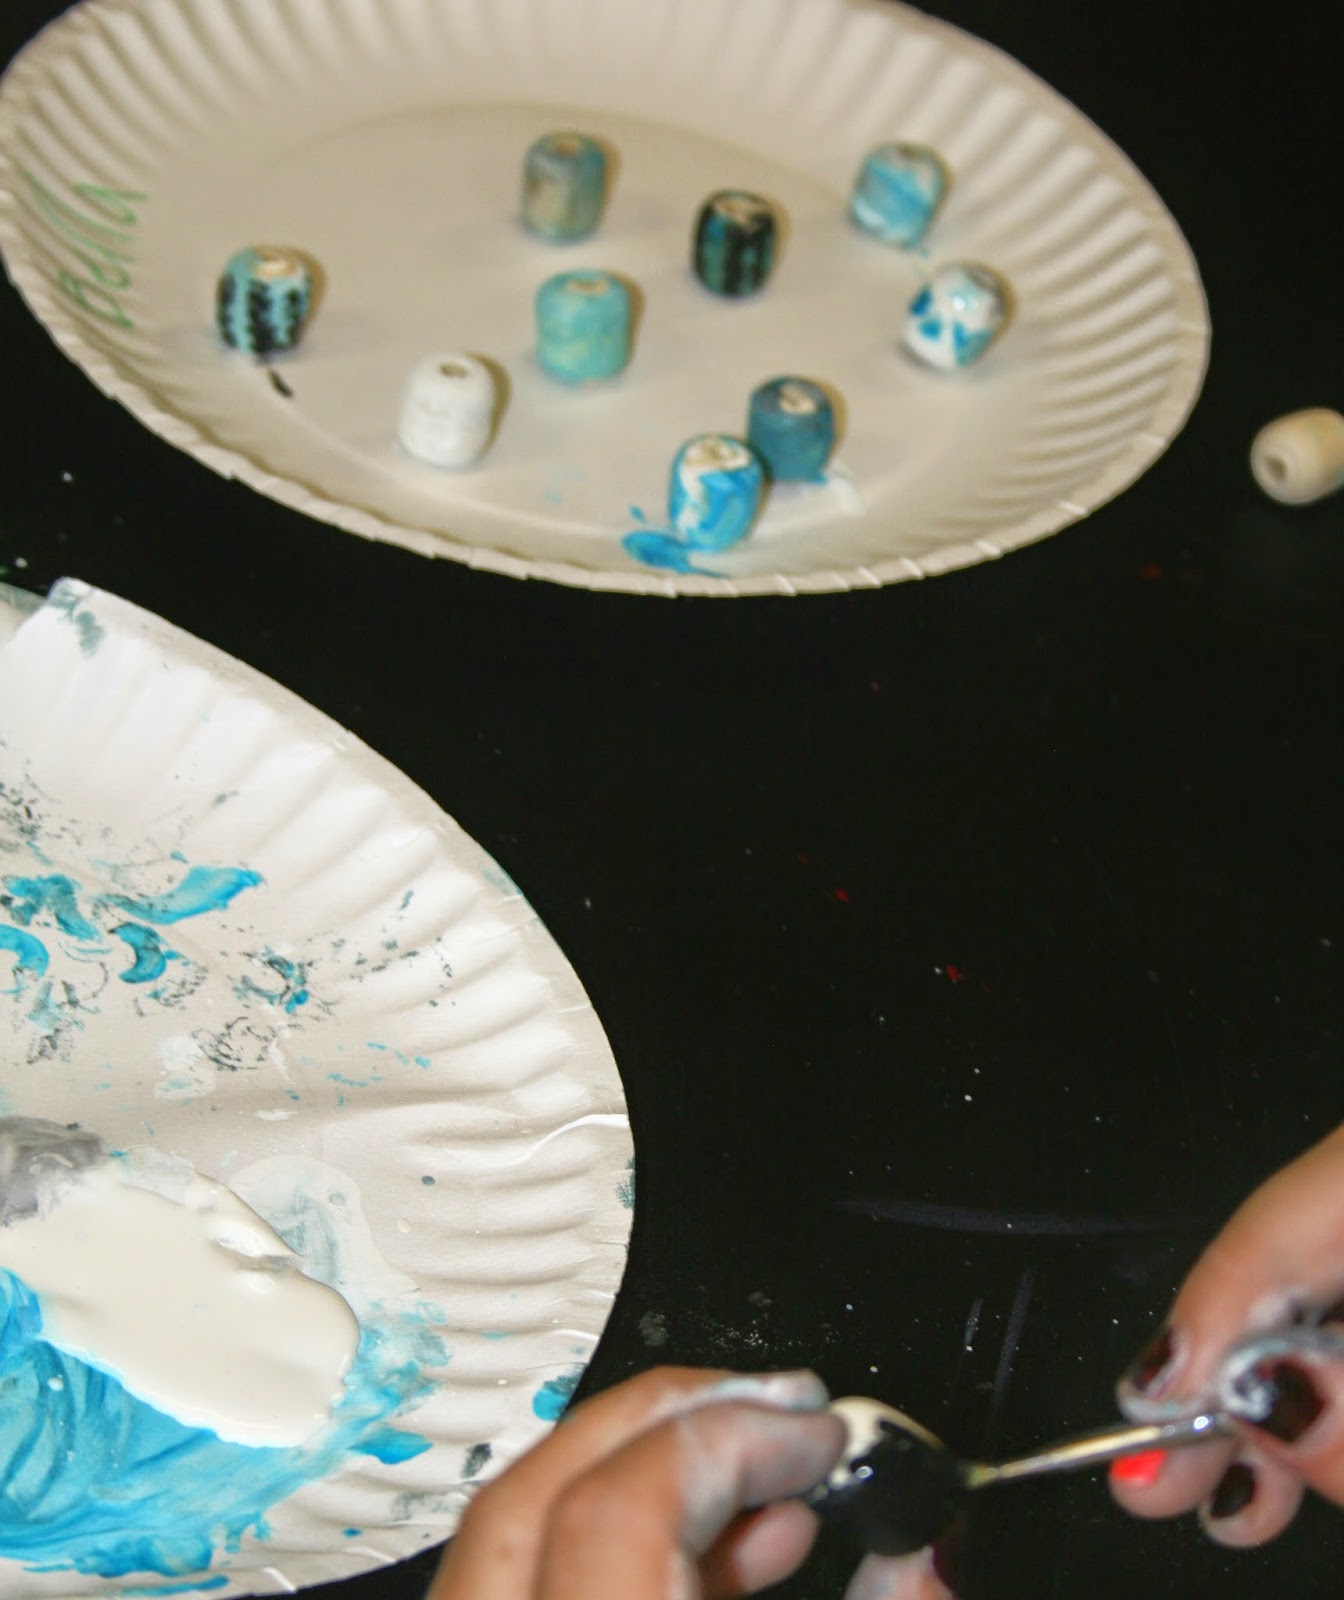
Examples of making a variety of values with their given color. They were told to be innovative (thinking outside the box), so they used things other than paint brushes to apply color to the beads. They also added designs within the tints and shades specifications.

Innovation at it's finest...

This guy showed me how he remembered the different way I showed him to attach string & yarn to the sticks. I was so proud!


They really enjoyed the sanding outside!


No comments:
Post a Comment